
Vendor plugins
Vendor plugins extend Stravia's supported model-service integrations. A dedicated Vendor plugin is an executable WebAssembly component, not a passive list of provider names.
Before importing
Obtain a plugin from a trusted release source and review its publisher, version, and requested capabilities. When trusted, a plugin can receive credentials for the provider connection it serves and can make network requests to the destinations authorized for it.
Review and manage a plugin
- Open Vendor plugins.
- Review installed components and their available source/version information.
- Import the plugin from its trusted release asset or local file as supported by the UI.
- Review the requested permissions before enabling or updating it.
- Connect the provider only after the integration is available.
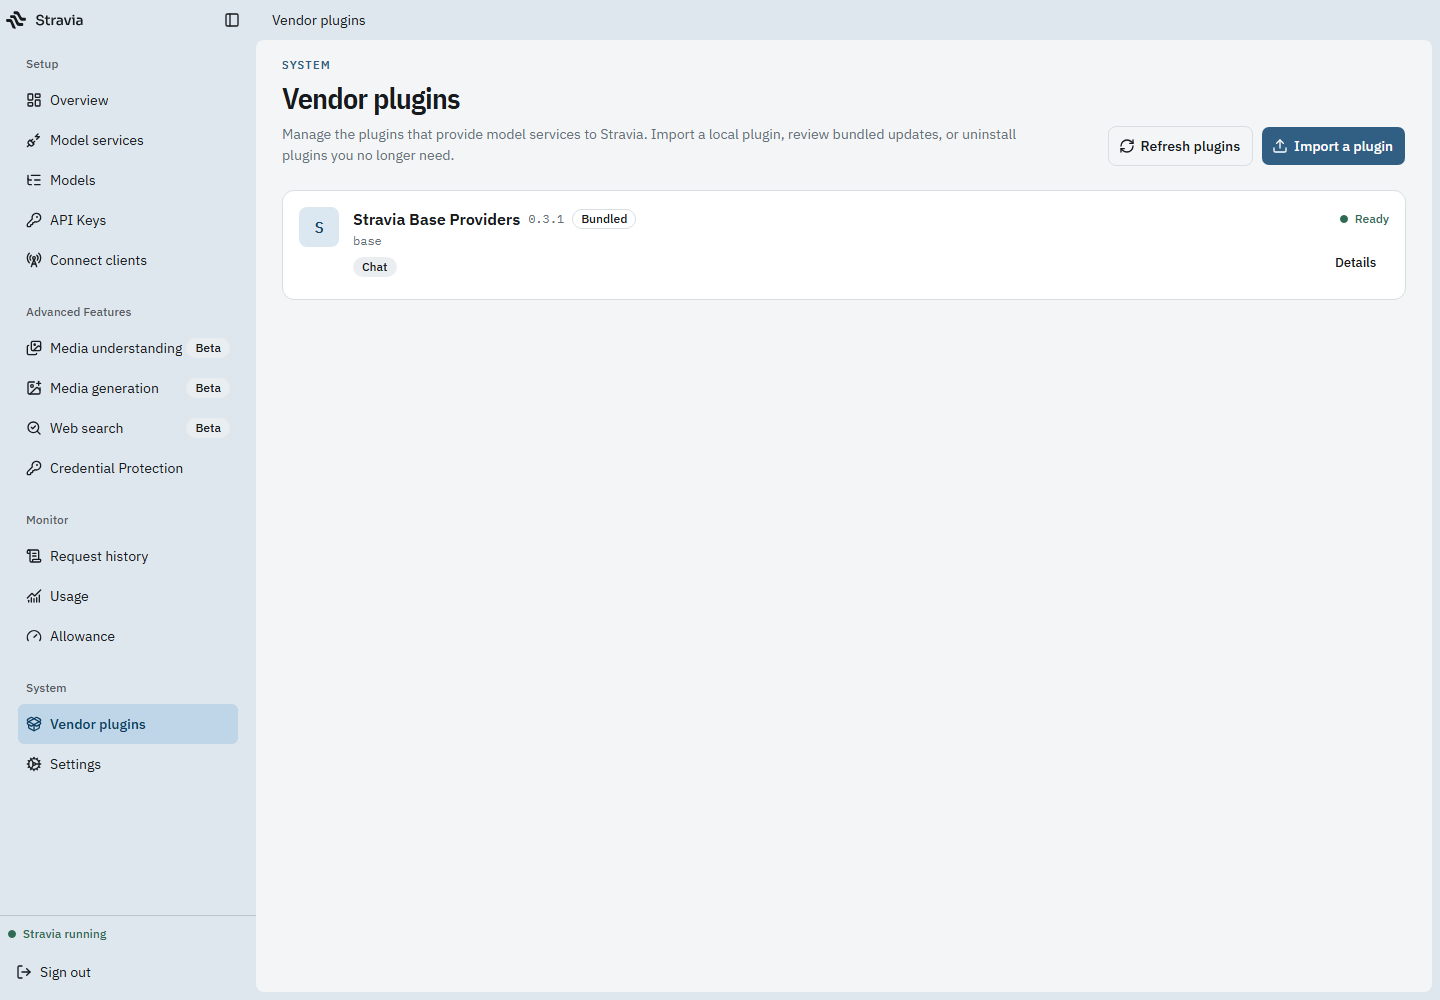
Confirm the plugin is available
Before creating the provider connection, confirm the expected integration appears in the Vendor plugins list and its installed source/version information is visible. This confirms the plugin is available to select; it does not confirm that provider authentication or a model request succeeds.
Base vendors bundled with the core and separately distributed Vendor plugins are different. Do not assume every provider requires a plugin, that every plugin is shipped with Stravia, or that a plugin marketplace exists.
Troubleshoot import or update failures
Check that the expected Vendor integration appears before creating a provider connection. If an update or import fails, retain the existing data and inspect the reported plugin error. Do not work around a signature or trust concern by importing an unreviewed component.
Next steps
Use Model services to connect the provider, and Deploy to plan where the service and plugin data reside.